Installing a watermaker is no joke. It touches half the boat — between battery management and the kitchen sink.
A marine watermaker isn't a box you bolt to a bulkhead and plug in. A proper install requires:
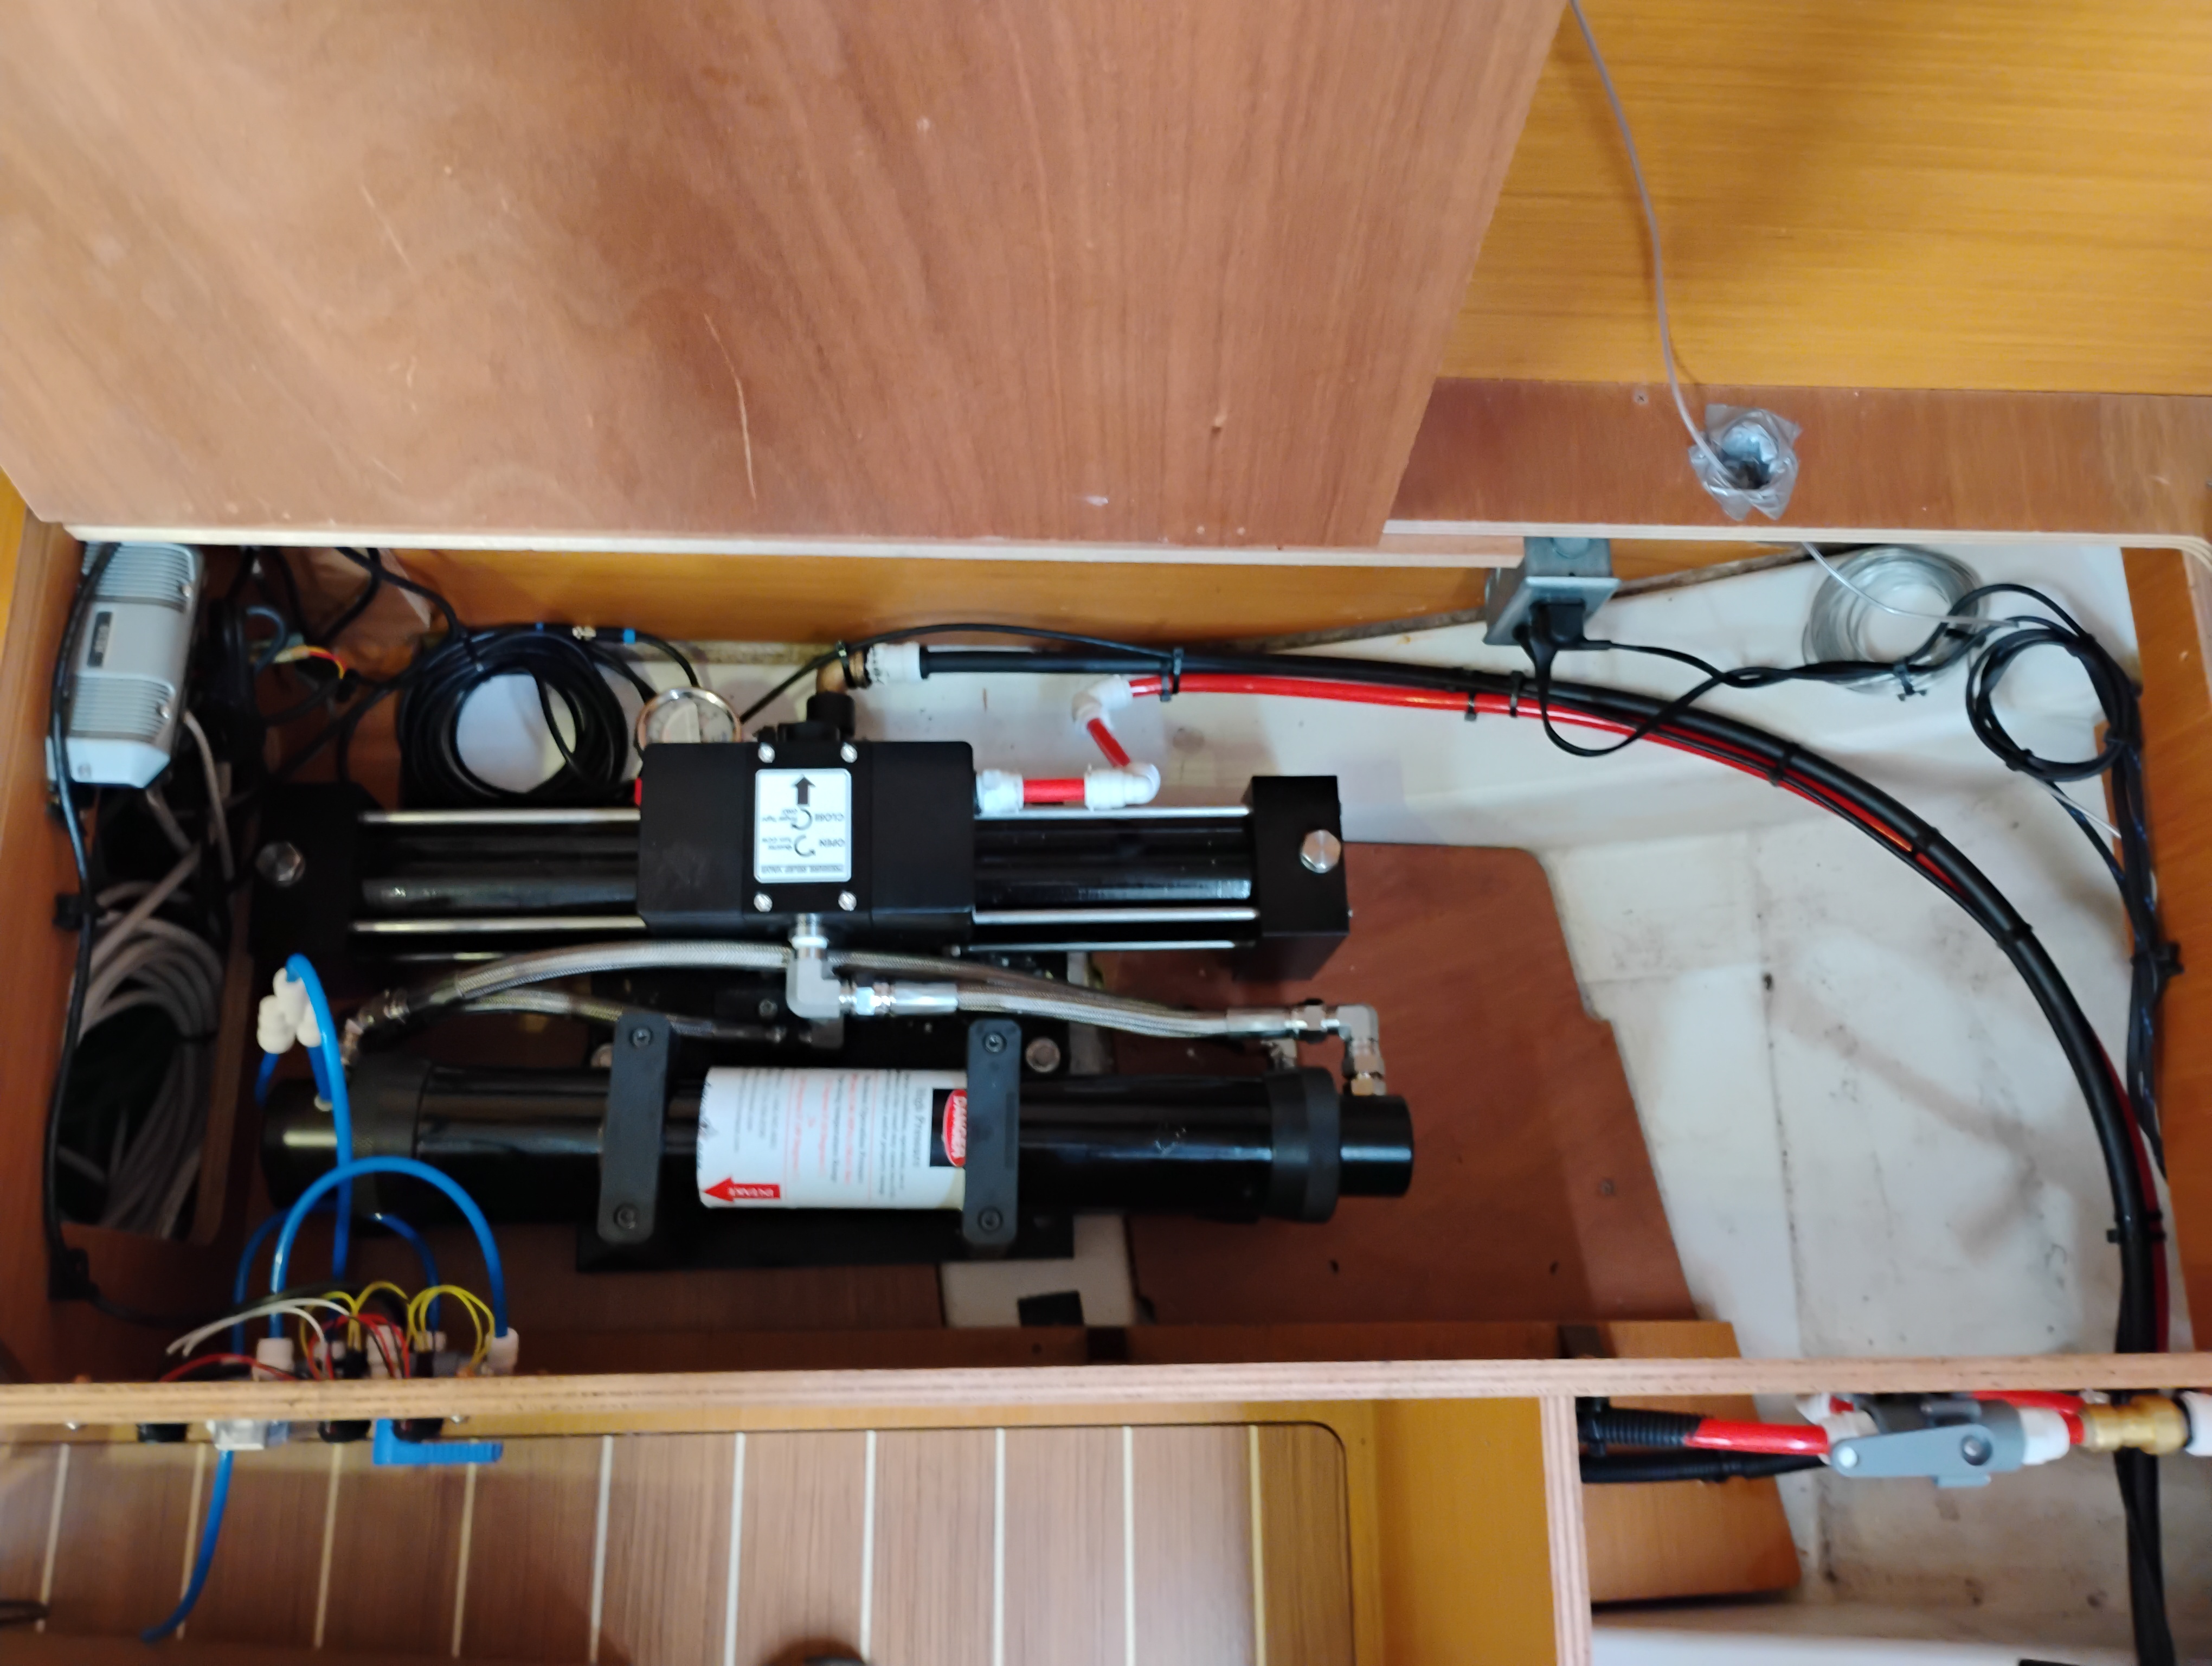
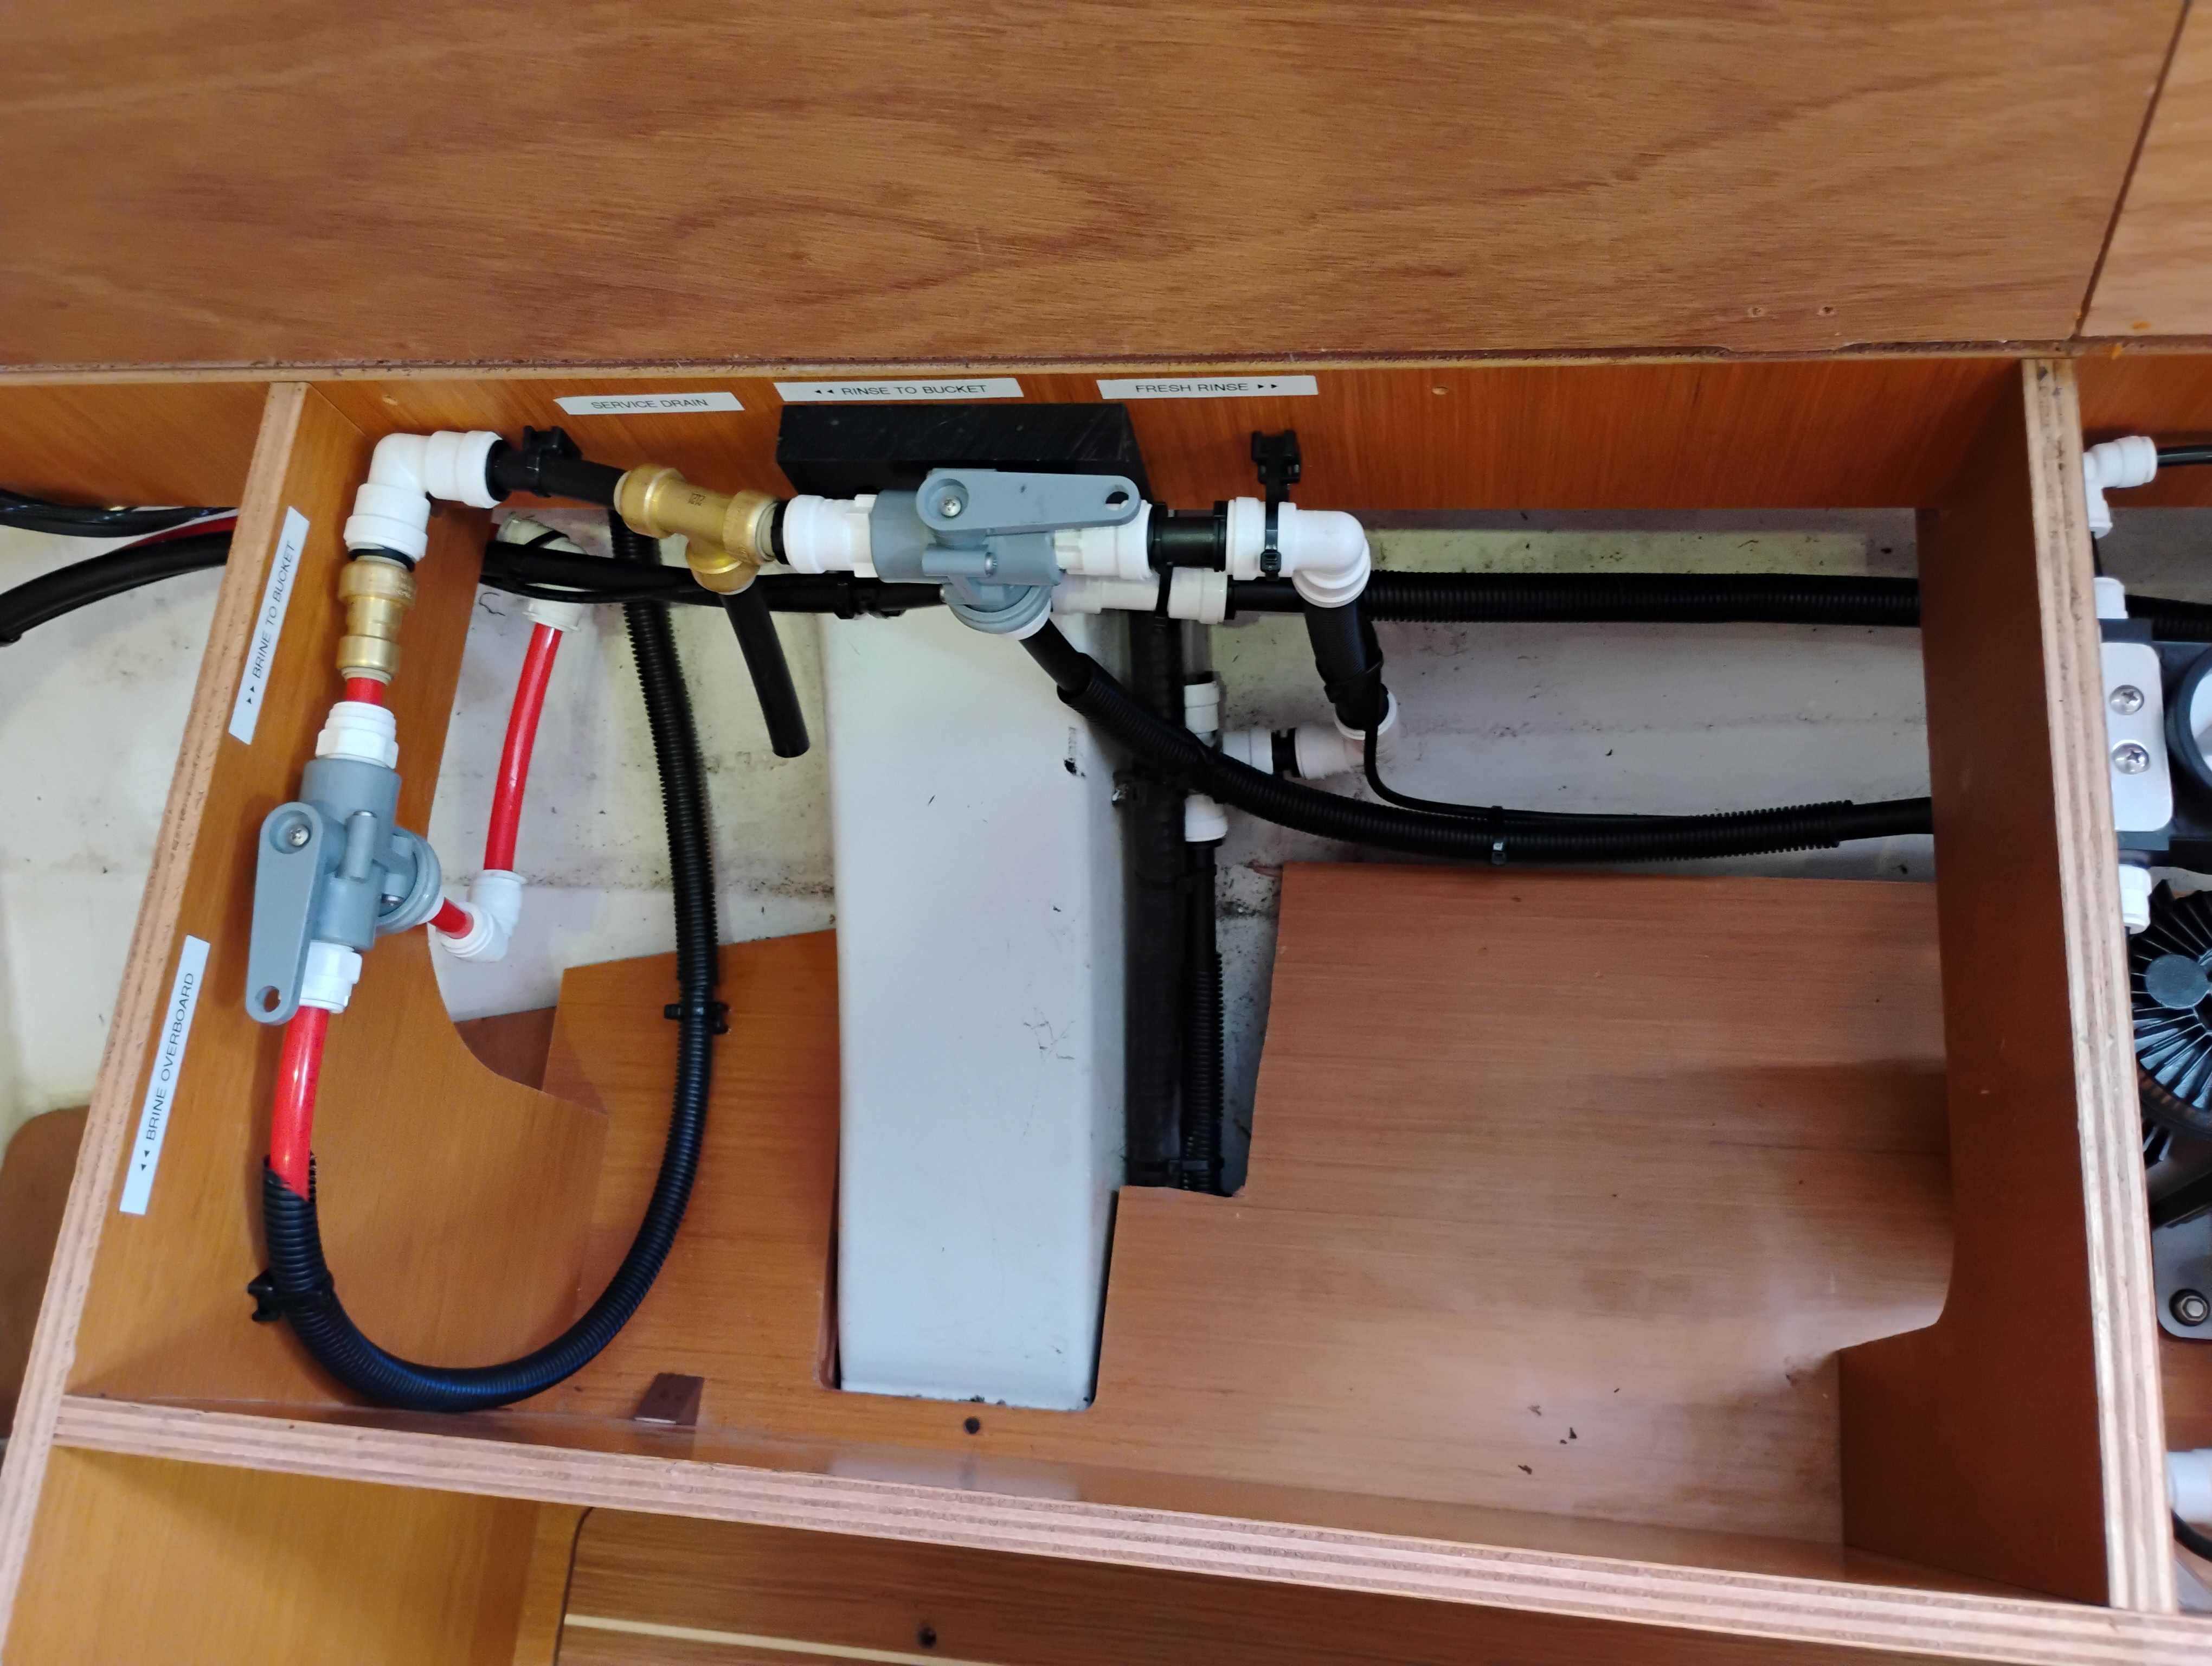
Multiple through-hulls below the waterline. Raw-water intake (saltwater to the membrane), brine discharge, sometimes a third for filter overflow. Drilling the hull, bedding bronze or composite seacocks, ABYC-compliant double clamping, leak test before splash. Sharing an existing intake via Y-valve is a shortcut that bites you the day the valve fails closed under load.
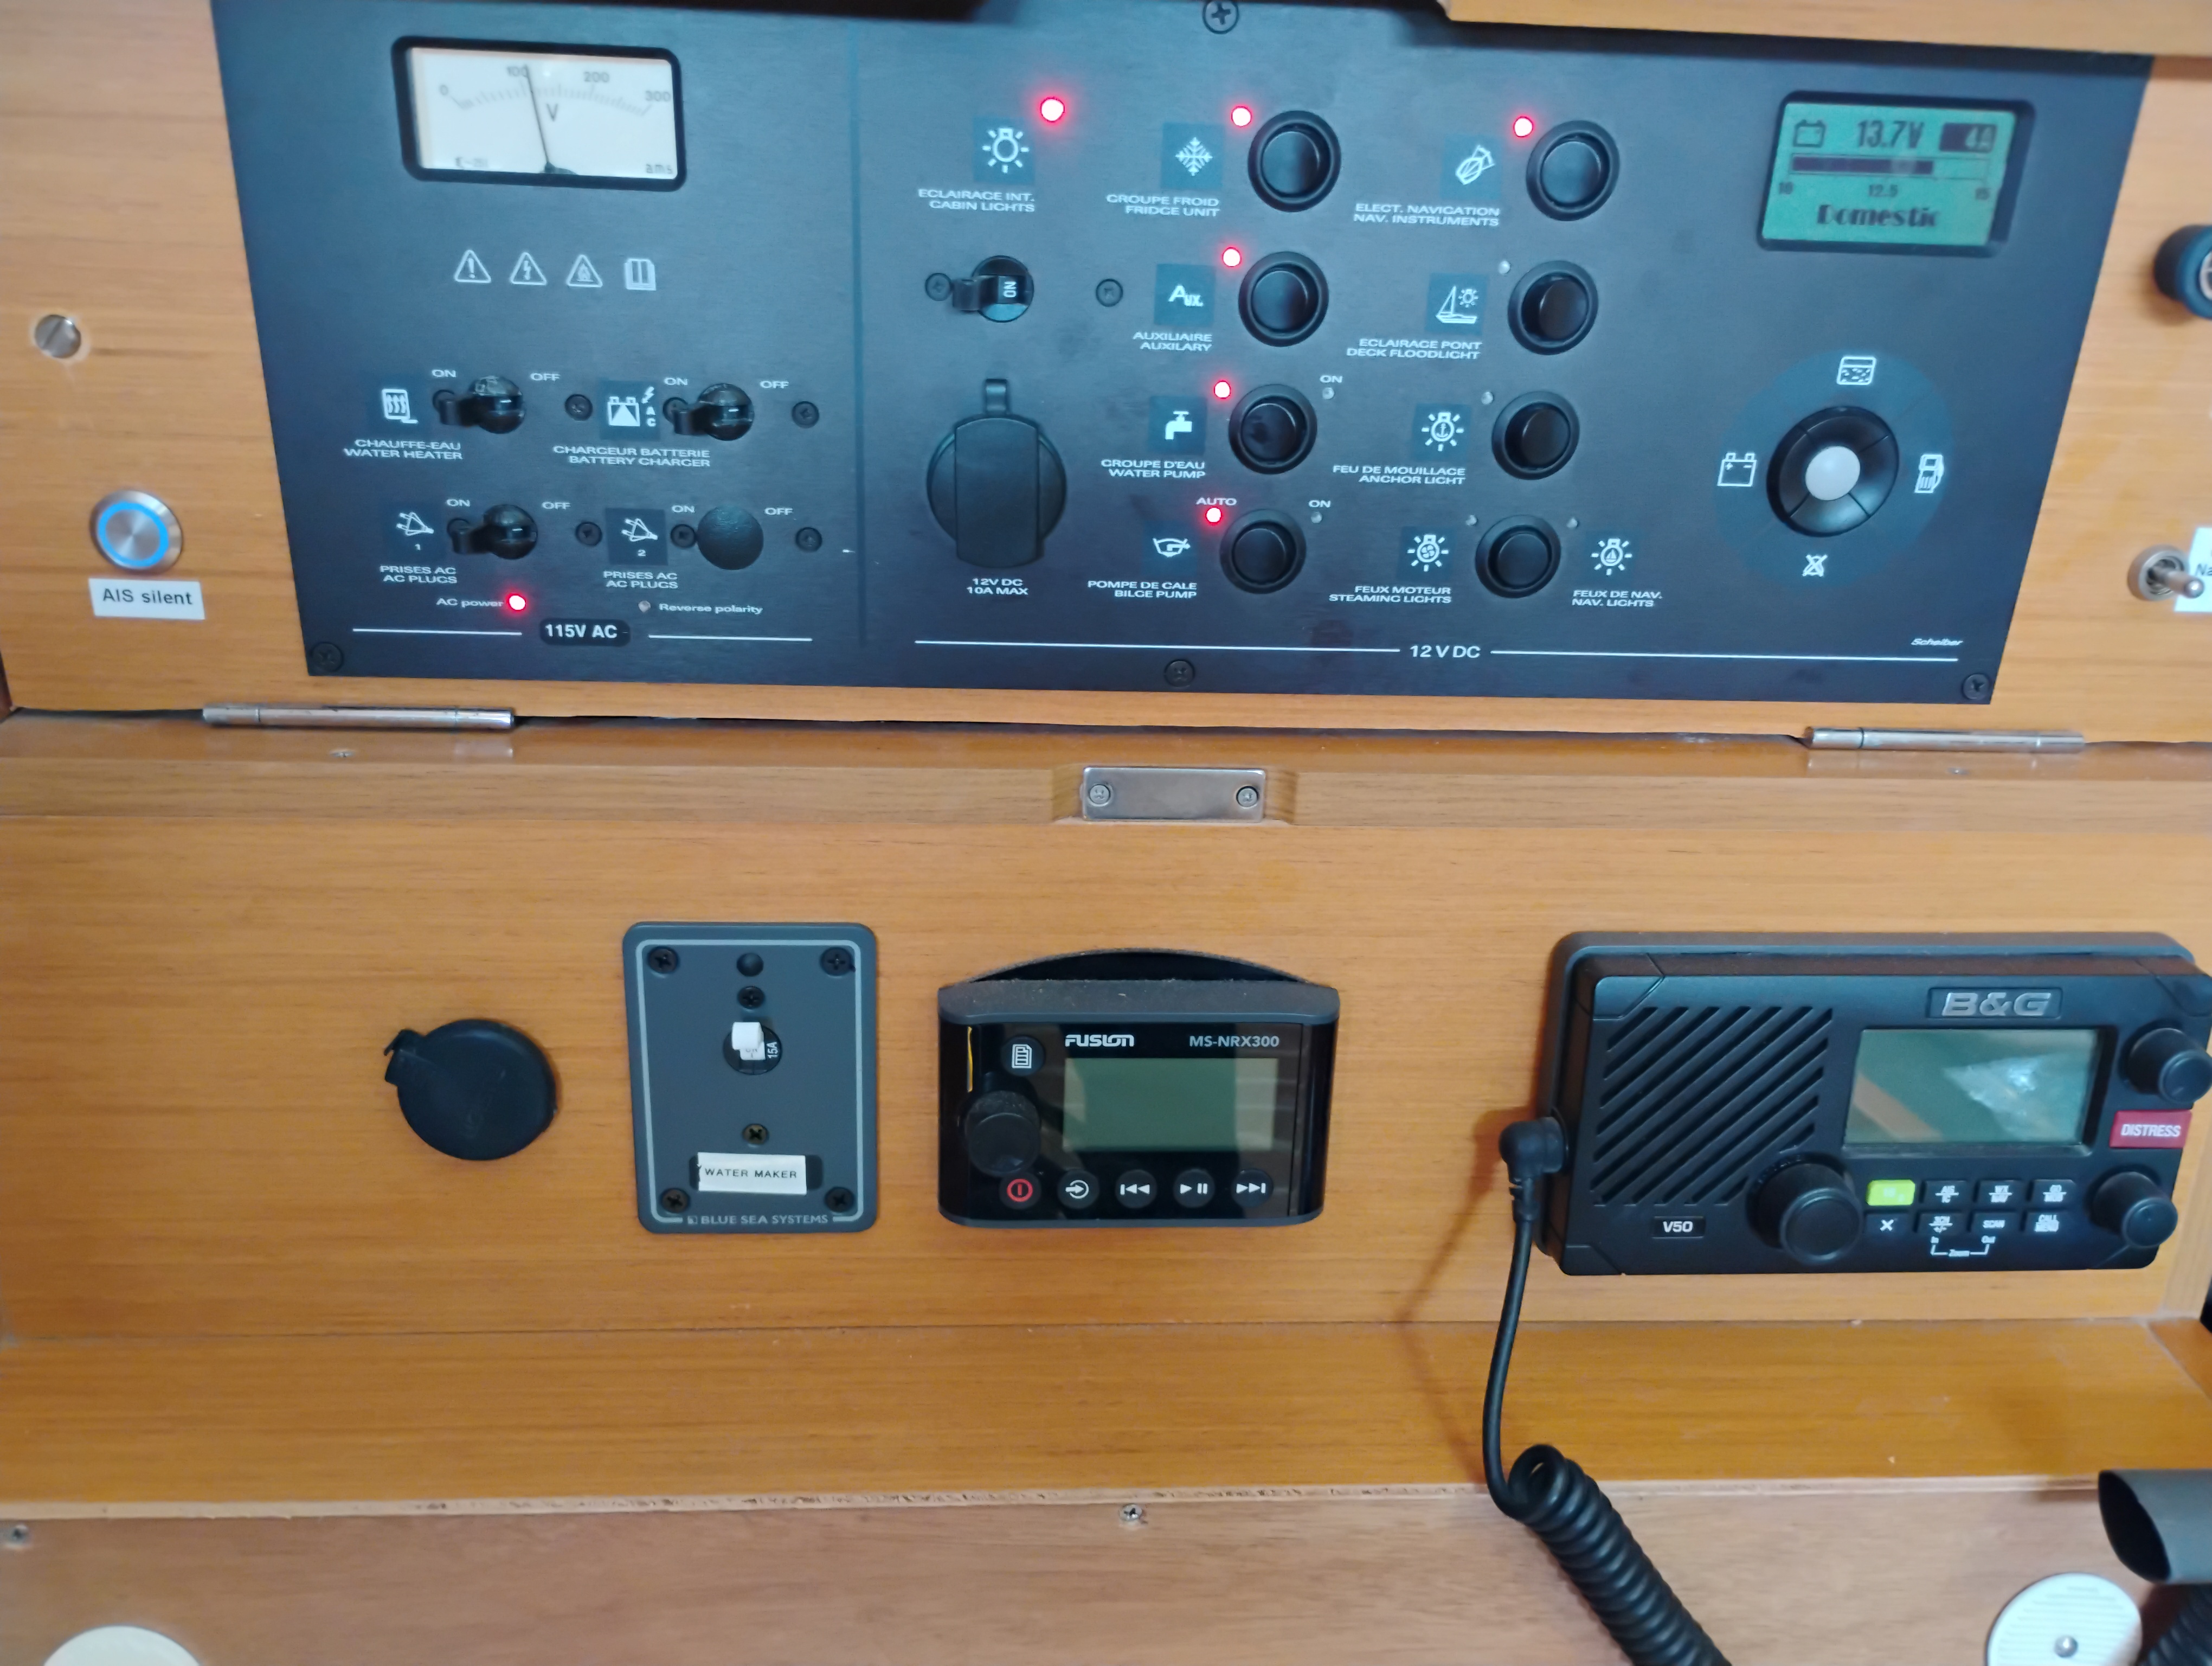
Electrical integration into DC distribution. The high-pressure pump pulls 8-10A continuous on a DC unit, more on AC. Proper wire gauge for the run, dedicated circuit protection at the source, bank capacity to support 1-3 hour cycles without dropping below safe state-of-charge. Your battery management plan changes when you add a load that runs for hours.
Plumbing into your existing freshwater system. Product water goes into your tank, a dedicated product tank, or via diverter during membrane flush. Auto-flush draws from freshwater on a timer when you're away. Multiple tie-ins, each a potential leak point.
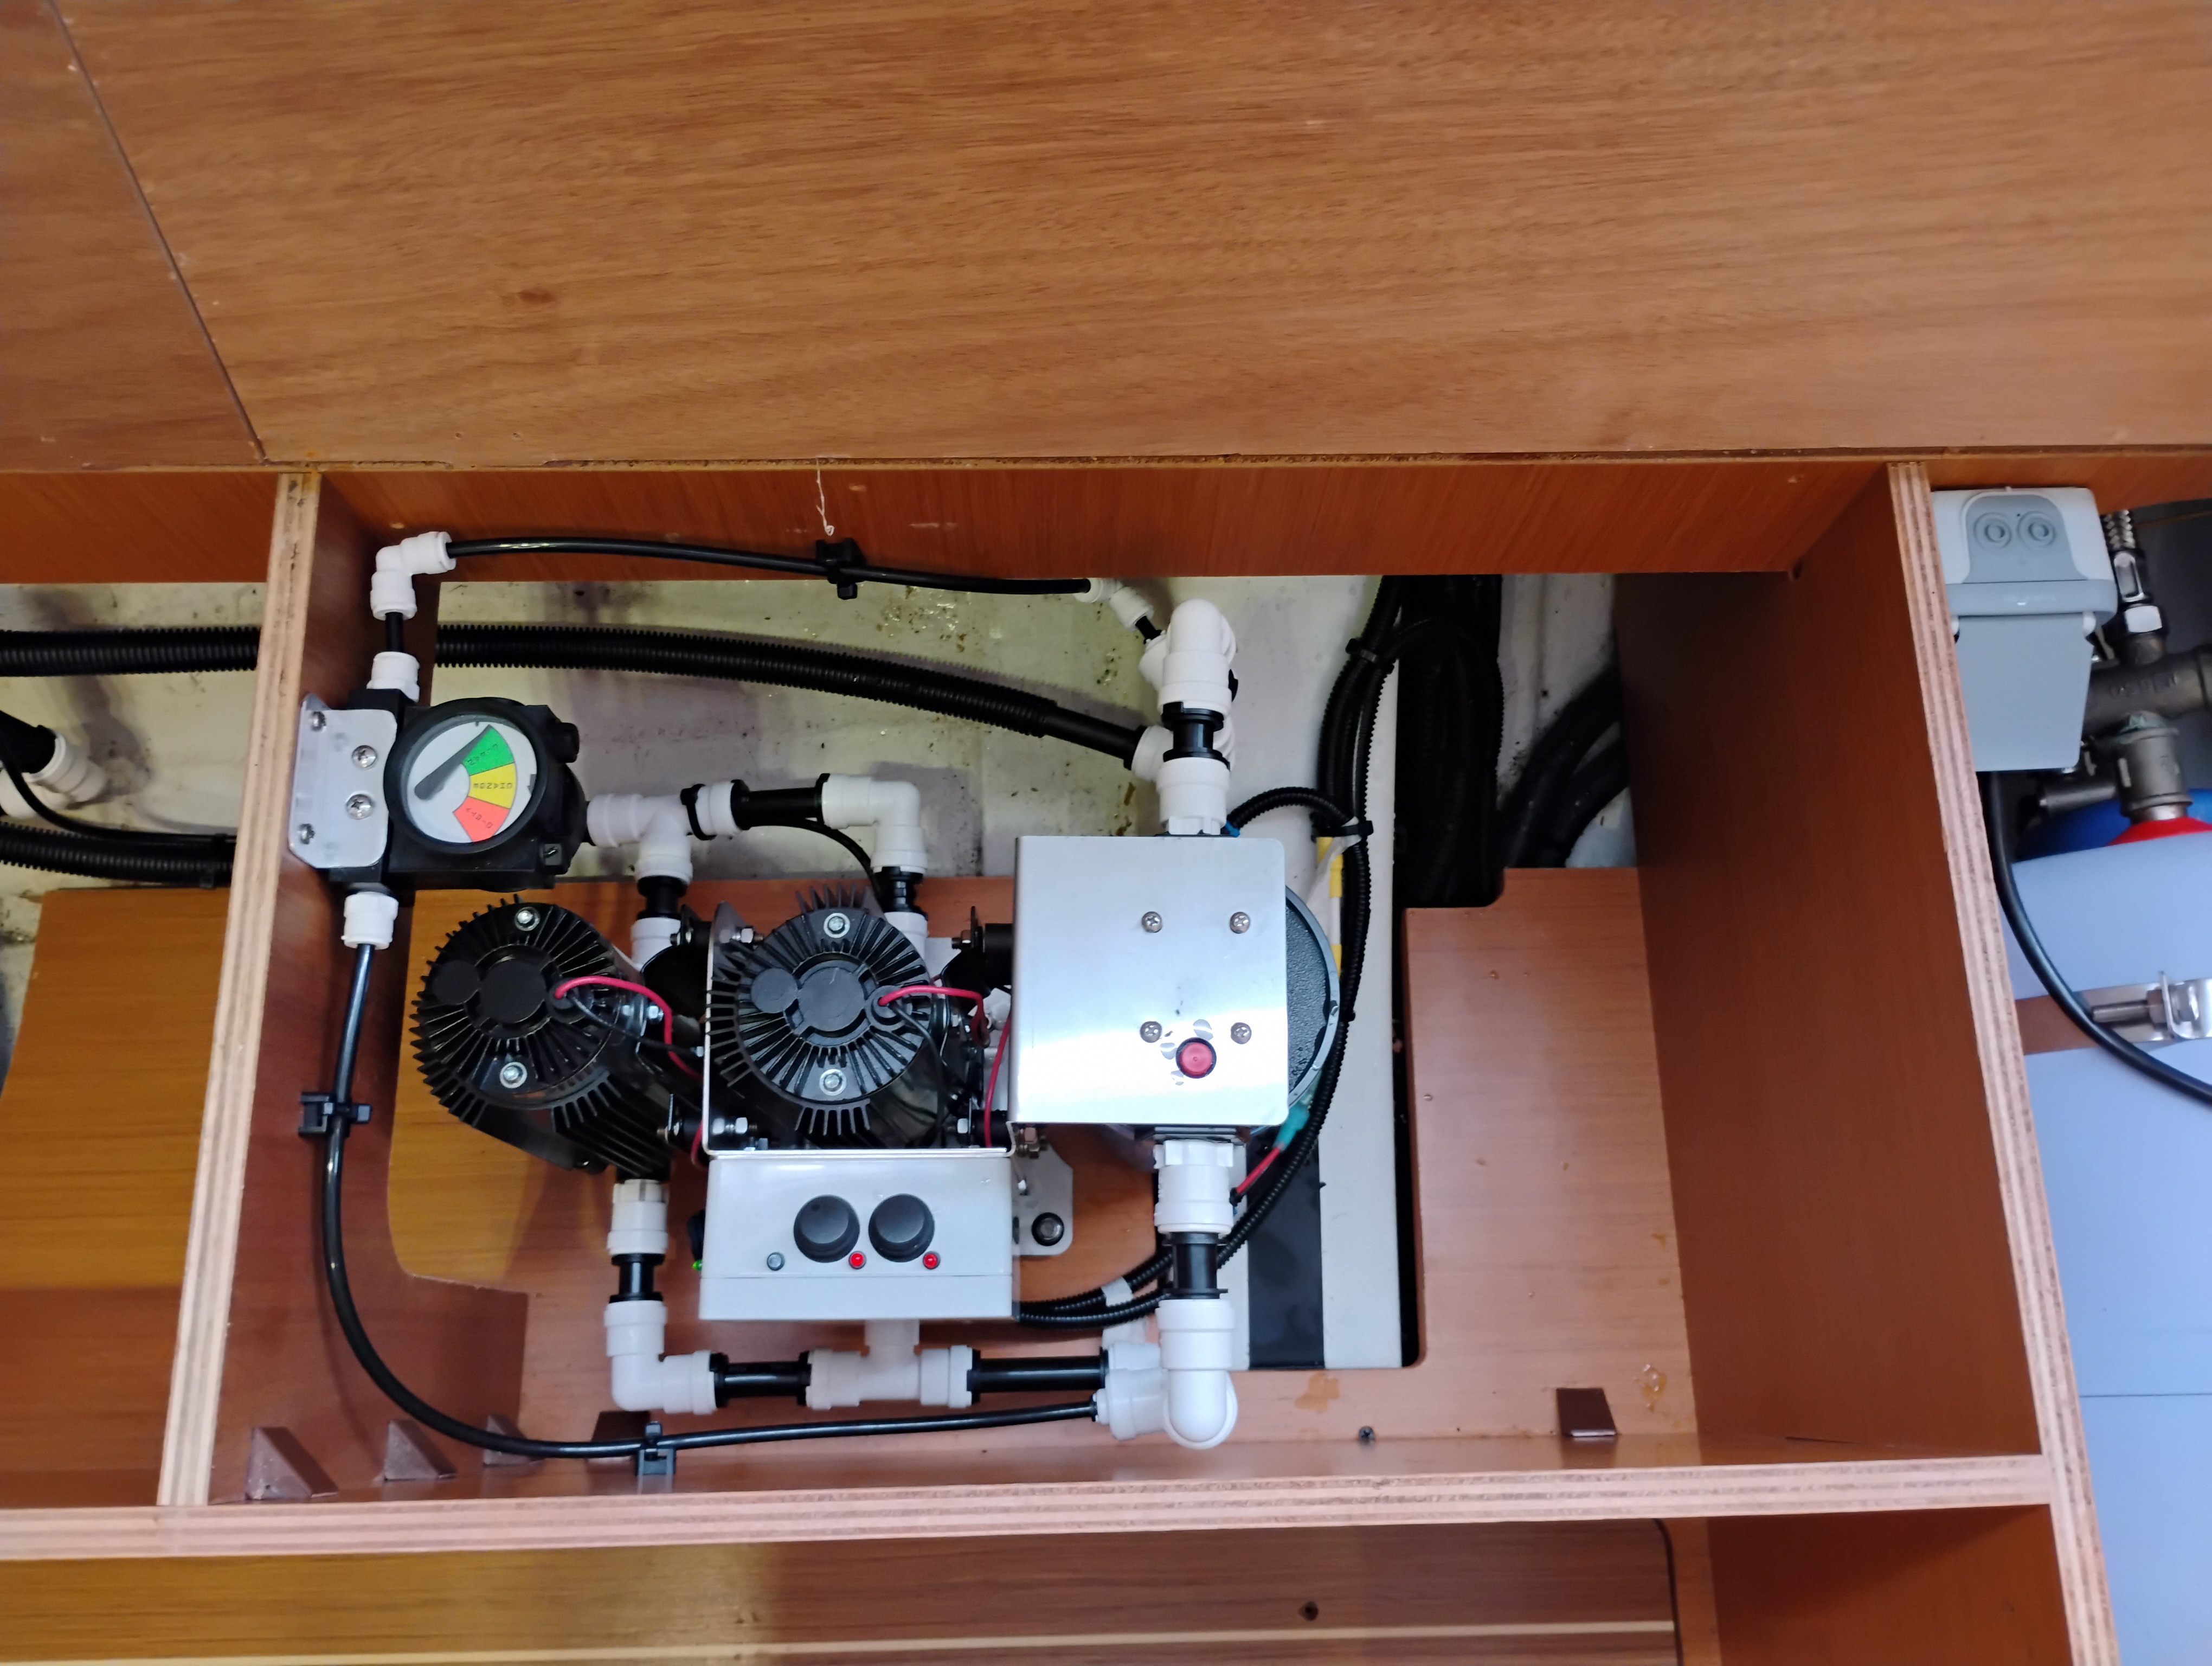
Bonding + monitoring. Metal fittings get bonded. Salinity probes need isolated grounds. NMEA 2000 integration for pressure, salinity, and runtime if supported.
This is a multi-day project, not a weekend bolt-on. Plan it as one.